Our customizable guest application—Guest Connect—allows you to easily display and create content for guests in many different ways. When adding content, it's important to decide what you're interested in adding and who your audience will be beforehand.
Follow the next steps to add content using the Guest Connect option in our platform:
1. Select Guest Connect in the main menu.

2. Click on the Add New Section button.

3. Scroll to the bottom of the page and name this new guest-facing section by clicking on Section Name Here (e.g., Arrival Information, Property Information, Check-Out Information, or others according to preference).

4. Decide how your new section will be displayed. In this case, we'll use Content as an example.

Note: Please read our Layout Design Options in Guest Connect article for details on how each option affects information display.
5. Once you've selected the type of display, click on the + icon.

6. Select how you'd like information inside of this new section to be displayed. In this case, we'll be selecting Content as an example once more.

7. Name the new item by clicking on Item name here. 
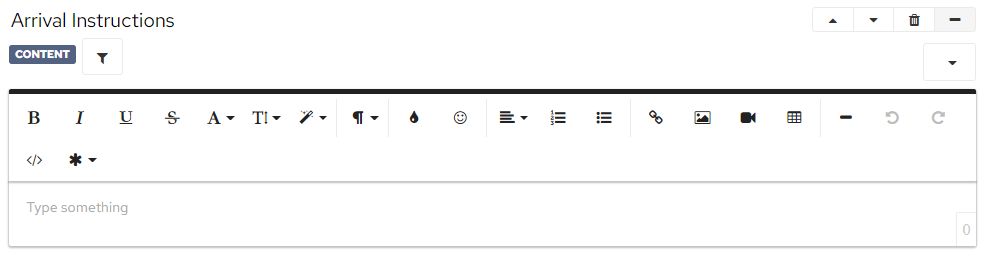
8. Click on the + icon and place any content relating to this section in the text field that appears. Please take note of the following when adding details to this field:
- If the added information is property specific, the Groups feature will narrow down who the audience is. The section will not need any filtering if the info is generic (e.g., what comes in the unit).
- Consider using the Wildcard option
 to pull information directly from the property container page for the specific unit.
9. Once all your content has been added, scroll to the top of the page and click Save.
